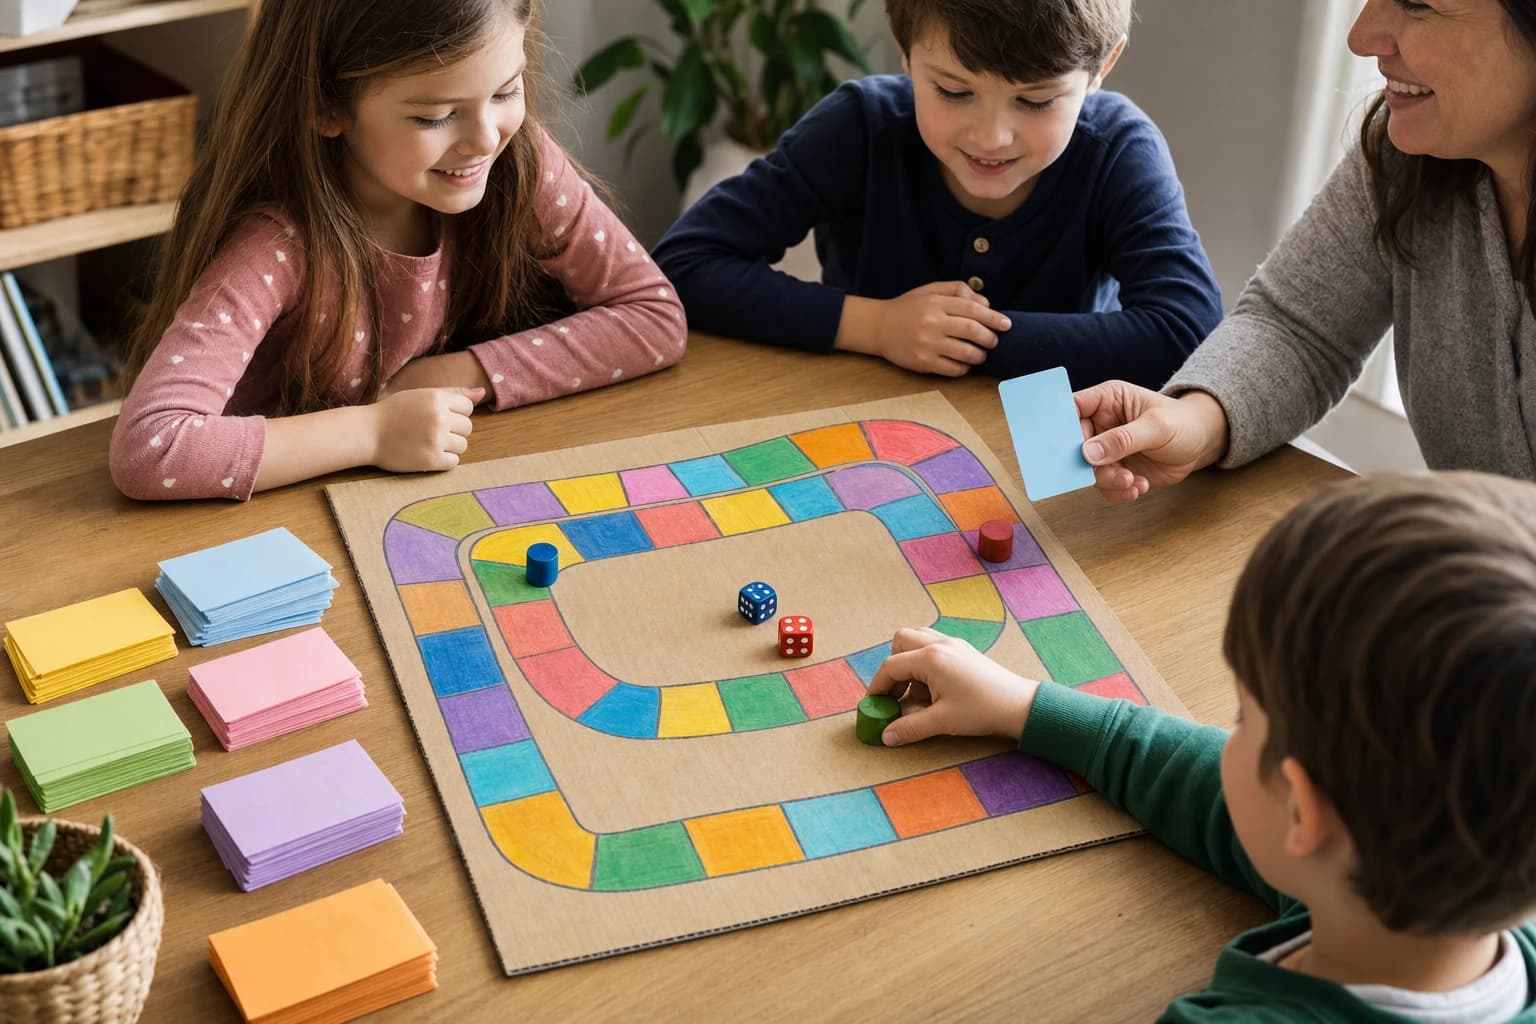
If multiplication practice keeps turning into a worksheet battle, a homemade board game can make the same facts feel more like play. This guide shows you how to build a low-cost DIY multiplication board game using cardboard, paper, a die, and question cards you can adjust for your child’s current times tables.
You will find a materials list, a board layout, step-by-step building instructions, sample multiplication cards, easier and harder rule variations, and tips for keeping the game fun instead of turning it into a disguised test.
Quick Overview: The Game You Are Making
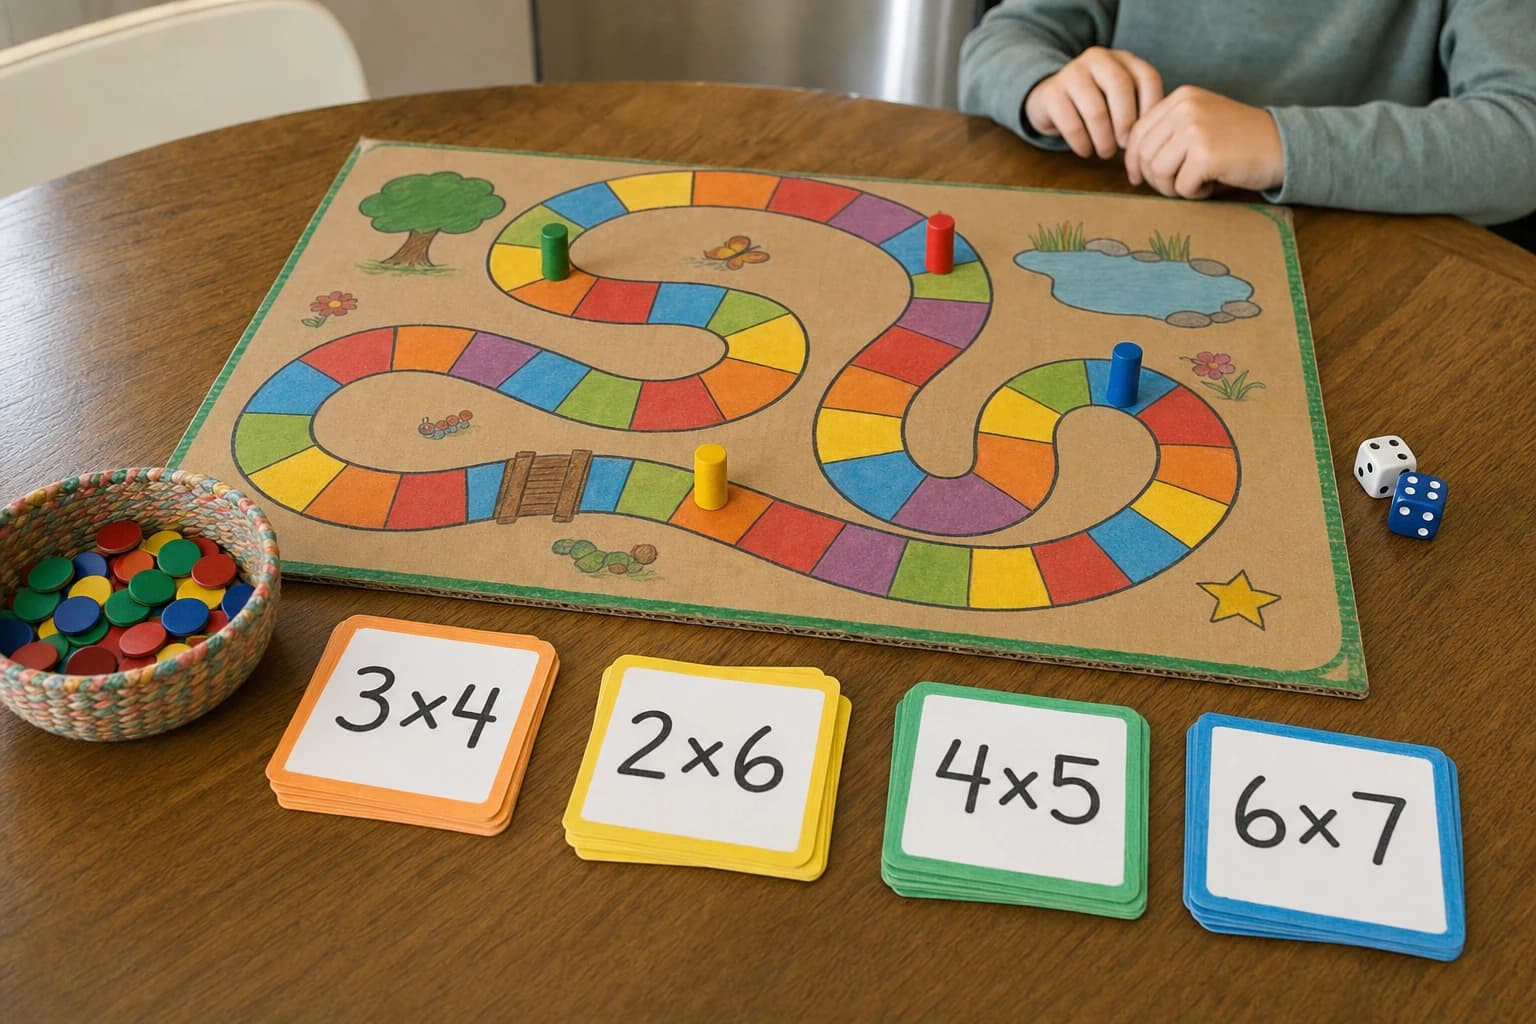
This homemade math board game is a path game. Players roll a die, move a token, and answer a multiplication question when they land on a space. Correct answers help them move ahead, collect points, or avoid a silly challenge, depending on the rules you choose.
The base version is best for children who already understand what multiplication means and are building fluency with facts from 2 × 1 through 12 × 12. If your child is still learning the concept, use arrays, counters, or repeated addition alongside the cards instead of expecting instant recall.
For context, the Common Core State Standards list fluently multiplying and dividing within 100 as a Grade 3 goal, while also connecting multiplication to equal groups, arrays, and area models. You can read the standard at the official Common Core site: Grade 3 Operations and Algebraic Thinking. Children do not all master facts at the same pace, so treat this game as practice, not a race to prove worth.
Time, Difficulty, and Best Age Range
- Build time: 25 to 45 minutes, depending on how decorated you want the board to be.
- Play time: 10 to 20 minutes per round.
- Players: 2 to 4 works best, though one child can play against a timer or a parent.
- Difficulty: Easy to build; adjustable for grades 2 to 5.
- Best for: Multiplication facts, times tables review, mental math confidence, and turn-taking.
Materials for a Low-Cost Homemade Math Board Game
You do not need a store-bought kit. The most useful board games for practice are often the ones you can change quickly as a child improves.
| Item | Suggested amount | Notes |
|---|---|---|
| Cardboard, poster board, or cereal box panel | 1 board, about 11 × 17 inches or larger | A file folder opened flat also works. |
| Blank index cards or cut paper rectangles | 40 to 80 cards | Use more cards if multiple children need different facts. |
| Markers or colored pencils | 3 to 6 colors | Use color to mark easy, medium, and challenge spaces. |
| Die | 1 standard six-sided die | If you do not have one, write numbers 1 to 6 on slips of paper and draw from a cup. |
| Player tokens | 1 per player | Coins, buttons, LEGO pieces, or small erasers work. |
| Small cup or envelope | 1 | Stores question cards between rounds. |
| Optional: stickers, tape, ruler | As needed | Helpful for a neat board, but not required. |
If you are building this for a classroom center, laminate the board or cover it with clear packing tape. For more low-prep classroom ideas, you may also like How to Run a Classroom Math Scavenger Hunt for 3rd to 5th Grade and Educational Indoor Classroom Games for Grades 3–5.
Step-by-Step: How to Build the DIY Multiplication Board Game
1. Choose a simple board layout
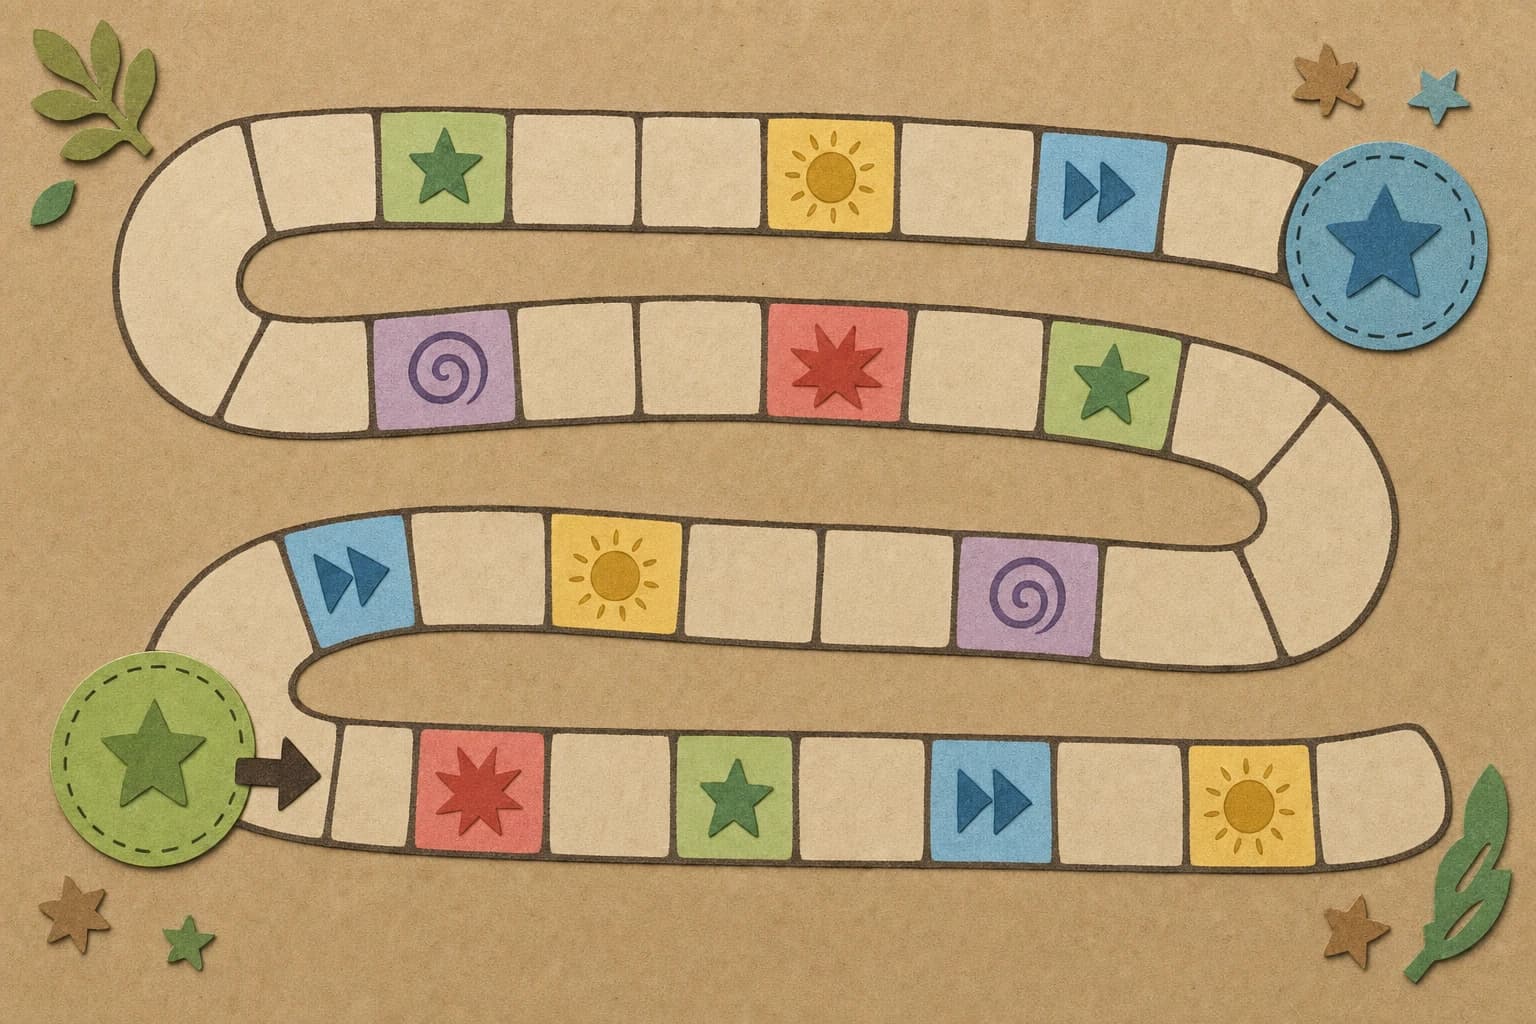
Draw a path of 35 spaces from START to FINISH. A winding snake shape, spiral, racetrack oval, or zigzag path all work. Keep each space large enough for two tokens to fit on it. On an 11 × 17 inch board, spaces about 1 inch wide are comfortable.
Do not make the path too long. A 60-space board sounds exciting, but it can turn practice into a marathon. For most children, 30 to 40 spaces gives enough repetition without wearing out the fun.
2. Color-code the spaces
Use three types of spaces so the game has variety:
- Regular spaces: Answer one multiplication card.
- Bonus spaces: Answer correctly and move ahead 2 extra spaces.
- Action spaces: Do a quick movement or silly task, then answer a card.
A balanced 35-space board could use 23 regular spaces, 7 bonus spaces, and 5 action spaces. Label the action spaces with short phrases such as “frog jump,” “math high-five,” “spin once,” “skip count,” or “swap a card.”
3. Make the multiplication question cards
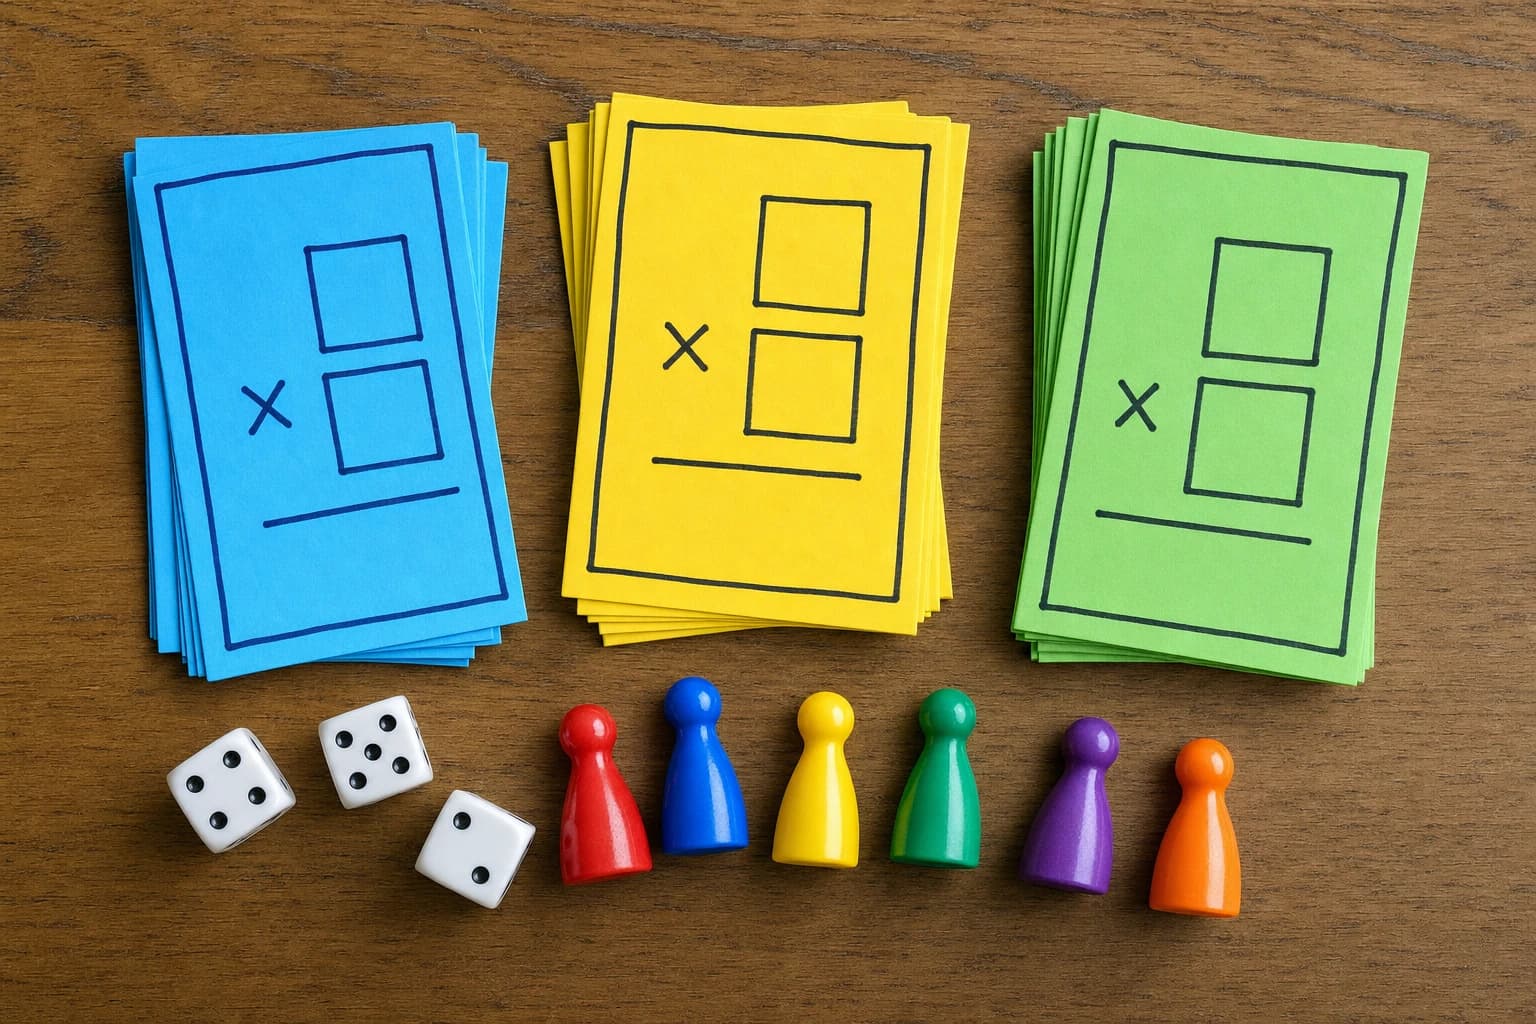
Cut paper into rectangles about the size of playing cards. Write one problem on the front and the answer on the back. This makes the game self-checking, which is especially useful when a parent is cooking dinner nearby or a teacher is managing a small group.
Start with the facts your child actually needs. If 6s, 7s, and 8s are the sticking point, do not flood the deck with 2s and 5s just to make it larger. A focused 30-card deck is more useful than a 100-card deck that avoids the hard facts.
Here are sample cards for a beginning deck:
- 2 × 6 = ?
- 3 × 4 = ?
- 4 × 5 = ?
- 5 × 8 = ?
- 6 × 3 = ?
- 7 × 2 = ?
- 8 × 5 = ?
- 9 × 3 = ?
- 10 × 7 = ?
- 11 × 4 = ?
- 12 × 2 = ?
- 6 × 6 = ?
For a challenge deck, include facts children commonly mix up, such as 6 × 7, 7 × 8, 8 × 9, and 12 × 12. Keep those in smaller numbers at first so the game does not feel punishing.
4. Add “strategy cards” so it is not just flash cards
A good multiplication practice game should include choices. Add 10 strategy cards to the deck or keep them in a separate pile. These cards reduce the worksheet feeling because children are making playful decisions.
- Double Move: If you answer correctly, move the number on the die again.
- Ask for an Array: Draw or build the problem before answering.
- Swap Places: If you answer correctly, trade places with another player.
- Skip Count Clue: Say the skip-count pattern up to the answer.
- Teach It: Explain the fact to another player and move ahead 1.
Use these sparingly. If every turn has a special card, the game becomes confusing. About 1 strategy card for every 5 question cards is enough.
5. Create a clear answer-checking rule
Before play begins, decide who checks answers. For younger children, an adult or older sibling can check. For independent play, write the answer on the back of each card and require the player to say the answer before flipping the card.
If an answer is wrong, avoid a harsh penalty. A simple rule is: “Try one strategy, then answer again.” Strategies can include drawing an array, using repeated addition, or breaking the fact apart. For example, 7 × 8 can become 7 × 4 plus 7 × 4, or 5 × 8 plus 2 × 8.
6. Write the rules on the board or a card
Children are more likely to play fairly when the rules are visible. Write a short rules card:
- Roll the die and move your token.
- Draw one multiplication card.
- Say the answer out loud.
- Check the back of the card.
- If correct, stay on the space and follow any bonus instruction.
- If incorrect, use a strategy and try once more.
- The first player to reach FINISH wins, or everyone wins when all players finish.
For cooperative play, use a shared goal instead: “Can all players reach FINISH before the deck runs out?” This is helpful for siblings with different math confidence levels because it reduces direct comparison.
Rule Variations for Different Skill Levels
The best part of a homemade math board game is that the same board can grow with the child. Change the cards and rules instead of rebuilding everything.
| Skill level | Best card type | Rule adjustment | Why it helps |
|---|---|---|---|
| Early multiplication | 2s, 5s, 10s; small arrays | Players may draw dots or use counters before answering. | Connects facts to equal groups instead of memorization only. |
| Building fluency | 3s, 4s, 6s, 8s | Correct answer on first try earns 1 bonus space. | Adds motivation while still allowing strategies. |
| Mixed practice | Facts from 2 × 1 to 12 × 12 | Use a 10-second thinking time, not a speed race. | Encourages recall without panic. |
| Advanced challenge | Missing factor cards, such as 7 × ? = 56 | Answer and explain one strategy to earn a bonus. | Builds division readiness and flexible thinking. |
| Multi-age group | Separate decks by color | Each player draws from their own level deck. | Keeps the game fair without making younger players feel behind. |
Sample Question Card Sets You Can Copy
Here are three ready-to-use sets. Write the answer on the back of each card.
Set A: Friendly facts
- 2 × 3
- 2 × 8
- 5 × 4
- 5 × 9
- 10 × 6
- 10 × 11
- 3 × 3
- 4 × 4
Set B: Common practice facts
- 3 × 7
- 4 × 8
- 6 × 4
- 6 × 7
- 7 × 5
- 8 × 3
- 9 × 6
- 12 × 4
Set C: Challenge and missing factors
- 7 × 8
- 8 × 9
- 9 × 12
- 11 × 11
- 6 × ? = 42
- ? × 8 = 64
- 9 × ? = 81
- ? × 12 = 96
If you are making cards for a class, use colored paper: green for easier facts, yellow for current practice, and blue for challenge cards. For more reusable classroom supply ideas, see Best Affordable Classroom Game Supplies for Indoor Recess.
How to Keep It Fun Instead of Feeling Like a Worksheet
A times tables game works best when the game part is real. If every turn is only “answer the fact or lose,” many children will notice that it is just flash cards with a board attached.
Use these small design choices to keep the mood positive:
- Let children decorate the board. A space theme, jungle path, dragon cave, or candy trail gives the board personality.
- Keep rounds short. End after 15 minutes even if nobody has reached FINISH. The winner can be the player closest to the end.
- Use helper tools without shame. Counters, arrays, and skip-counting are learning tools, not cheating, especially while facts are still developing.
- Praise strategies, not just speed. “You broke 8 × 7 into 8 × 5 and 8 × 2” is more useful than “You were fast.”
- Offer a cooperative version. Some children practice more when they are not worried about losing to a sibling.
- Retire mastered cards. If a child answers 4 × 6 correctly for several sessions, move that card to a “mastered” envelope and add a new one.
Common Mistakes to Avoid
Making the deck too hard too soon: A game full of only the toughest facts can shut down confidence. Mix review facts with current goals.
Turning every wrong answer into lost turns: Losing a turn after a mistake often reduces practice. A better rule is to use a strategy and try again.
Overusing timers: Timers can be exciting for some children, but stressful for others. If you use one, try it as a personal challenge rather than a public comparison.
Ignoring the concept behind the fact: Memorization matters, but children also need to understand equal groups. Keep counters or scrap paper nearby for explanations.
Easy Extensions for Home or Classroom
Once your board is finished, you can reuse it for more than multiplication. Swap the deck for division facts, word problems, fractions, spelling words, or vocabulary clues. The board becomes a flexible practice tool instead of a one-time craft.
For a family game night version, let players earn “tool cards” by explaining their thinking. For example, a player who explains 9 × 6 as 10 × 6 minus 6 earns a card that can be used later to reroll the die. This rewards reasoning, not just memorized answers.
For classroom small groups, make four identical boards and different decks. One group can work on 3s and 4s while another practices mixed facts. Keep the rules the same so students can rotate without needing new instructions each time.
FAQ
What multiplication facts should I put in the game first?
Start with facts your child is currently learning, plus a few review facts they can answer confidently. For many children, 2s, 5s, and 10s are friendly starting points before moving to 3s, 4s, 6s, 7s, 8s, and 9s.
How many multiplication cards do I need?
For home play, 30 to 40 question cards are enough for a focused round. For classroom centers or mixed levels, 60 to 80 cards divided into color-coded decks gives more flexibility.
Should children have to answer quickly?
Not always. Speed can be useful after understanding is secure, but early practice should allow thinking time and strategies. If you use a timer, make it optional or personal rather than a way to embarrass players.
Can one child play this game alone?
Yes. A solo player can try to reach FINISH before drawing 20 cards, or can set a goal such as “answer 15 cards with no more than 3 strategy helps.” Keep the goal short and achievable.
How do I adapt the game for children at different levels?
Give each child a separate deck. One player might draw green easy cards while another draws blue challenge cards. They can still move on the same board and follow the same movement rules.
Conclusion
A DIY multiplication board game does not need fancy supplies to be effective. A clear path, focused question cards, fair answer-checking, and a few playful bonus spaces can turn routine multiplication practice into something children are more willing to repeat.
Keep the game short, adjust the deck often, and treat mistakes as chances to use strategies. That balance is what makes a homemade math board game useful: it gives children repeated practice without making the experience feel like another worksheet.