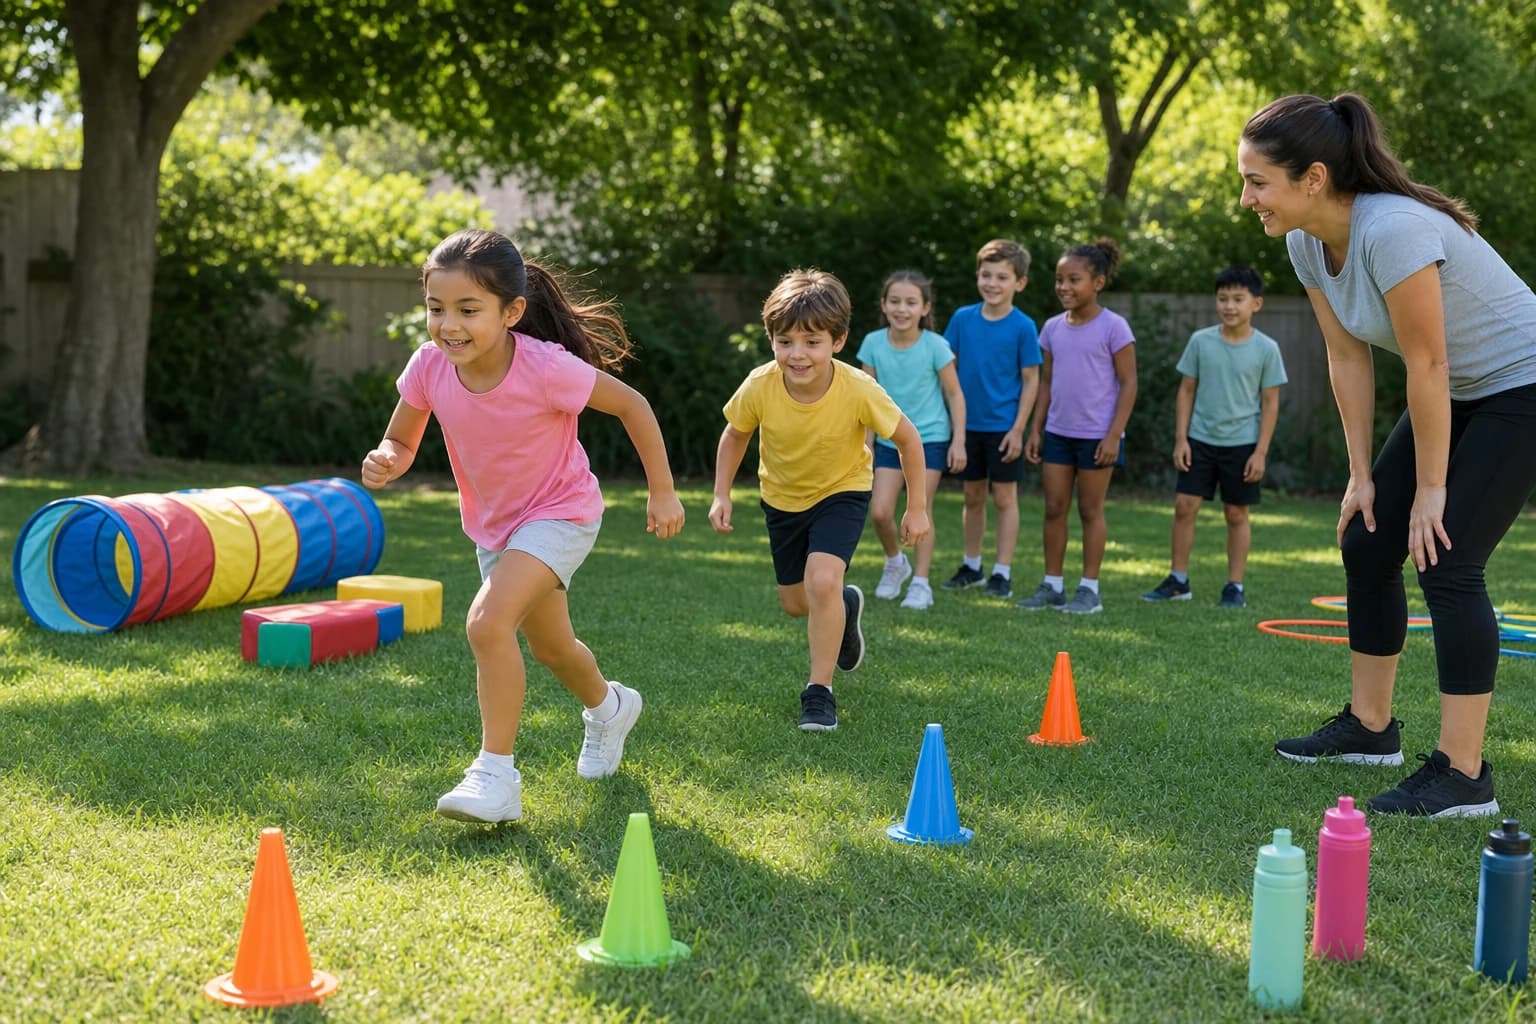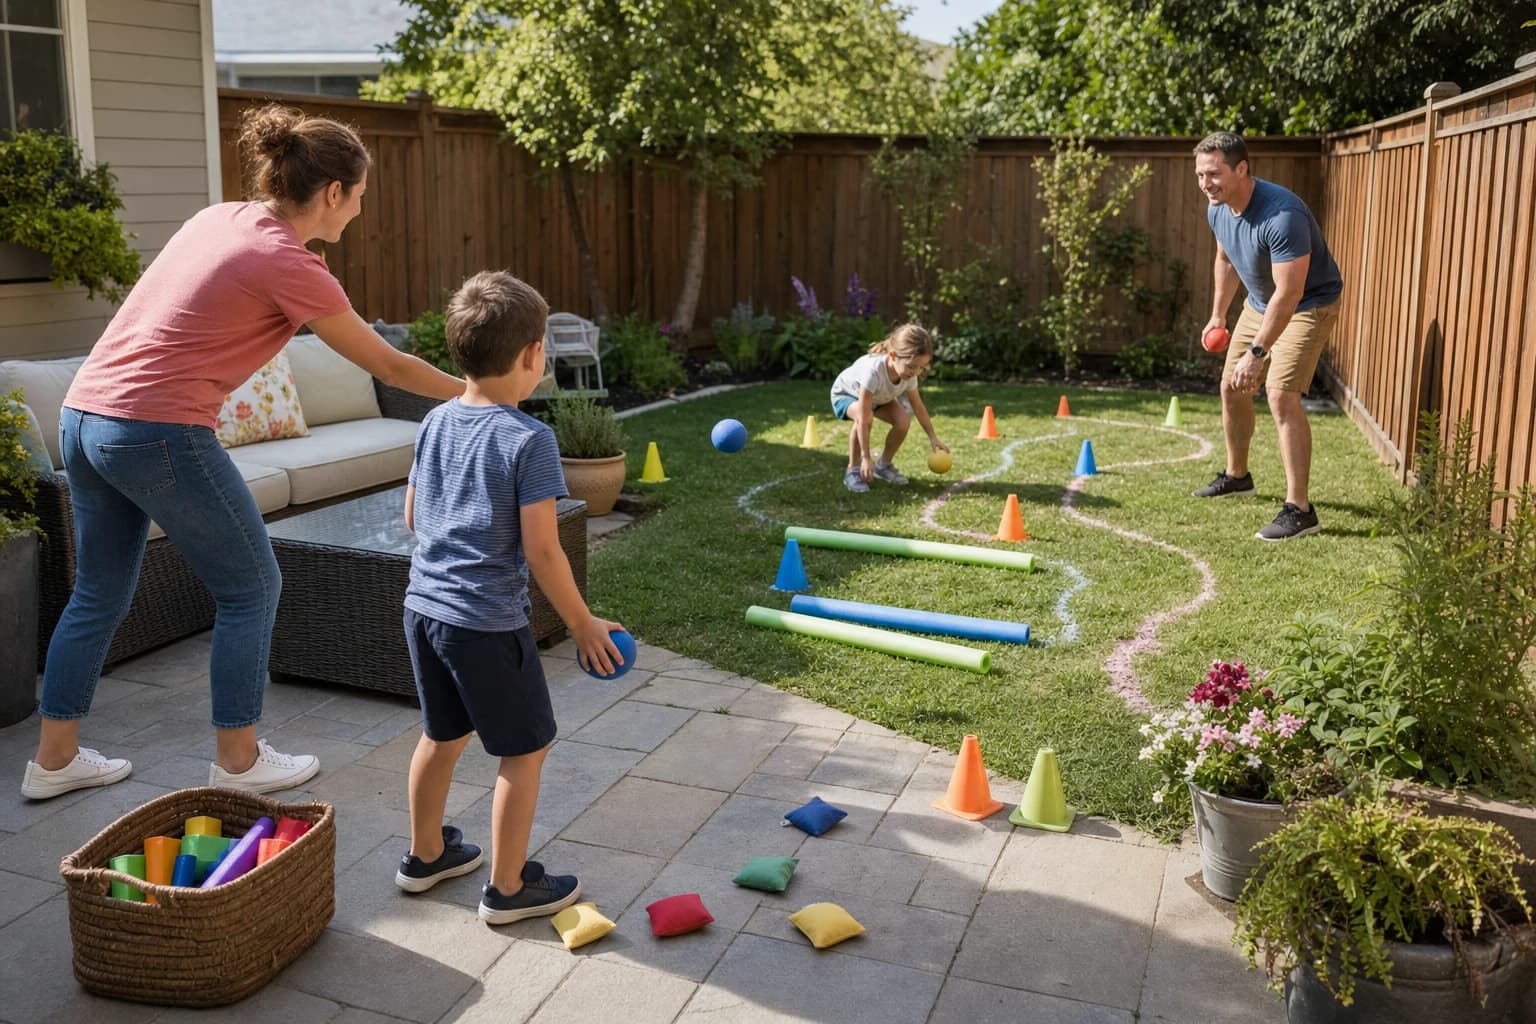
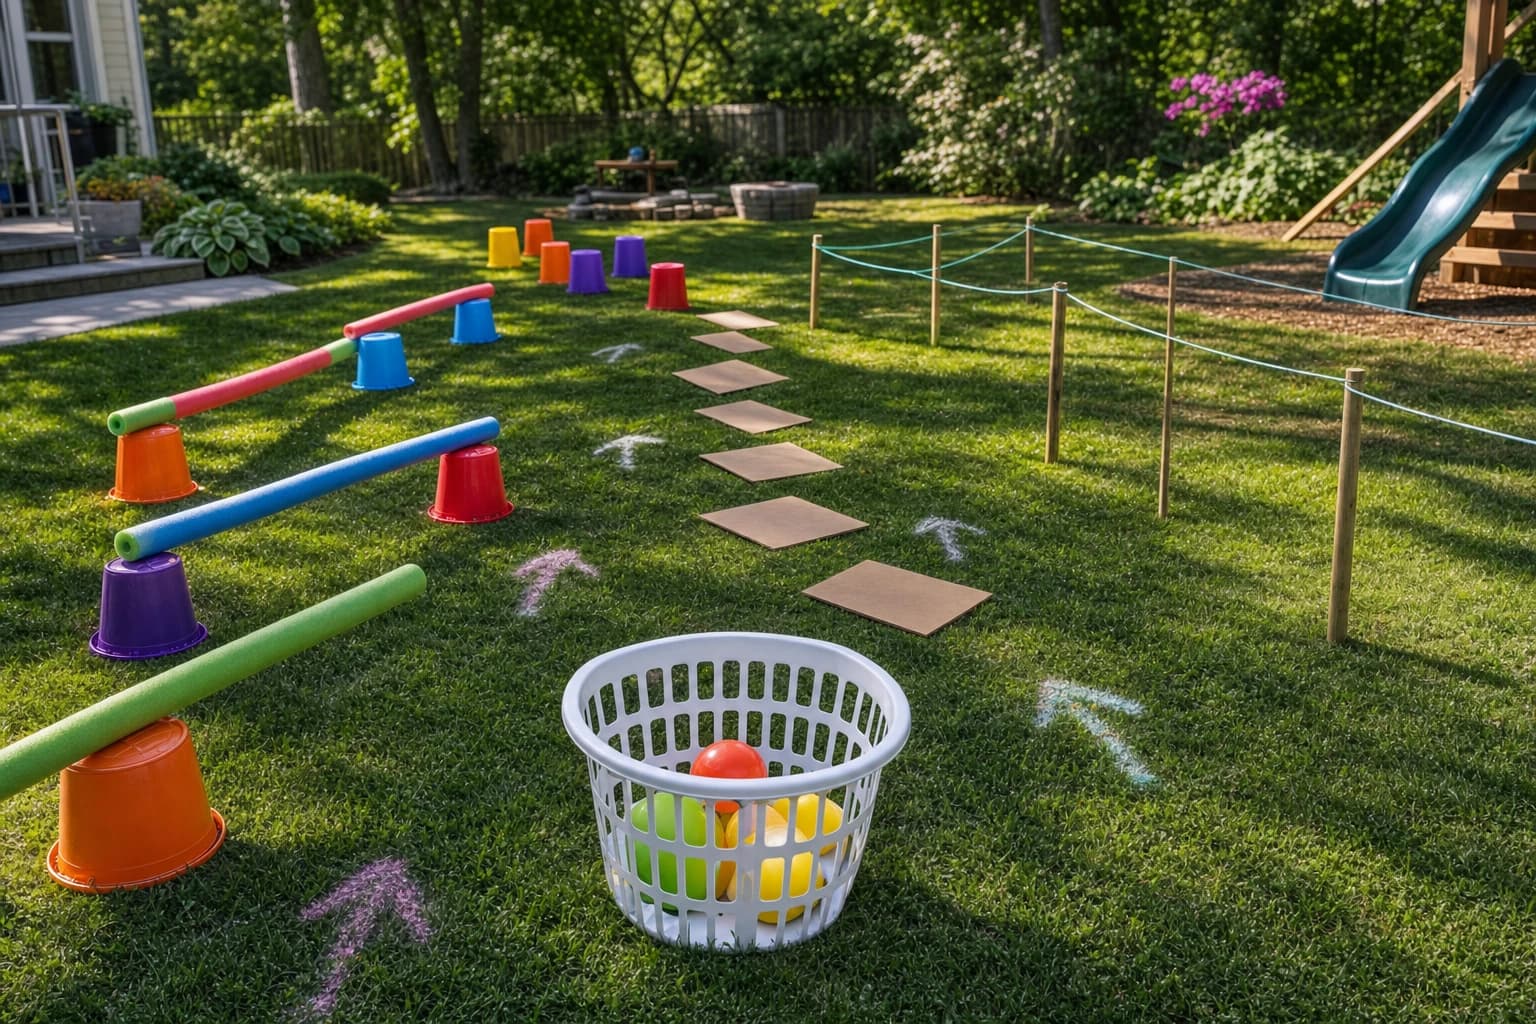
A backyard obstacle course for kids does not need special equipment, a huge lawn, or a full afternoon of planning. With a few household items and a clear course flow, you can create an active outdoor game for children ages 5–10 in about 30 minutes.
This guide shows you how to build a simple DIY obstacle course for kids using items such as pool noodles, buckets, chalk, rope, cardboard, laundry baskets, towels, and soft balls. You will also find safety spacing tips, age-based difficulty adjustments, and a printable-style course layout you can copy before the kids go outside.
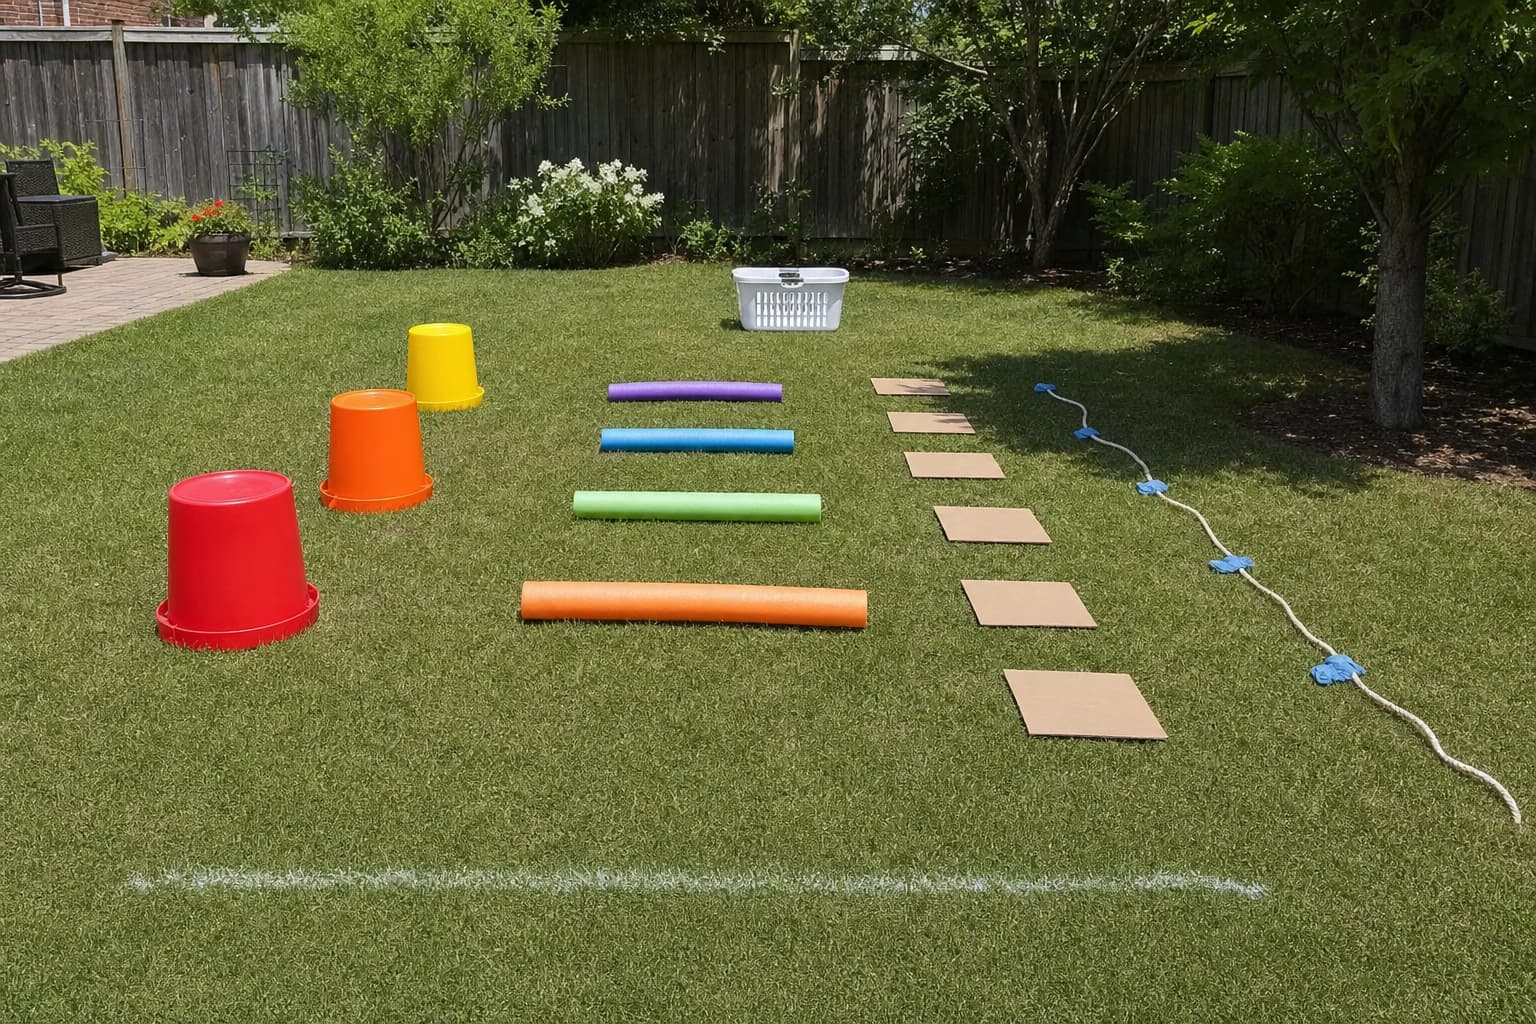
Quick Course Overview: A 30-Minute Backyard Setup
The easiest way to set up an outdoor obstacle course is to think in stations. Each station should ask kids to do one simple movement: jump, crawl, balance, toss, weave, carry, or run. For ages 5–10, six to eight stations are usually enough. Younger children can repeat the course slowly, while older children can add a timer, extra laps, or harder rules.
Plan for a course that takes about 60–90 seconds per child. That keeps it exciting without making anyone wait too long. If several children are playing, send them one at a time every 20–30 seconds, or divide them into two teams with separate starting points.
Best setup for most families
- Age range: 5–10 years
- Setup time: about 30 minutes
- Space needed: a small to medium backyard, driveway, patio, or grassy side yard
- Number of players: 1–8 works well; more players need wider spacing
- Difficulty: easy to adjust by age, speed, and station rules
Materials You Can Use From Around the House
You do not need every item on this list. Choose what you already have, then build the course around it. Soft, lightweight items are usually better than heavy objects because they are easier to move and less risky if a child bumps into them.
| Household item | Best obstacle use | Simple setup idea |
|---|---|---|
| Pool noodles | Limbo, hurdles, tunnel, lane markers | Lay them on the grass or rest one across two chairs at waist height |
| Buckets or plastic bins | Weaving, tossing, turning points | Place 4–6 buckets in a zigzag line with 3 feet between each one |
| Sidewalk chalk | Start line, balance path, jump spots | Draw circles, arrows, footprints, and finish lines on pavement |
| Rope or jump rope | Balance line, river jump, boundary line | Lay two ropes parallel to create a pretend river |
| Cardboard pieces | Stepping stones, crawl tunnel, target signs | Cut flat pieces into large squares or circles |
| Laundry basket | Toss target, ball carry station | Place it 4–8 feet from the toss line depending on age |
| Towels | Safe landing markers, “islands,” relay carry | Lay towels flat; do not use them for running if they slide on the surface |
| Soft balls or rolled socks | Tossing, carrying, balancing | Use 3–5 rolled sock balls for a low-cost target game |
Safety Setup Before You Start
A kids backyard games setup should be fun, but it also needs clear boundaries. Before placing any obstacle, walk the whole area and remove garden tools, hoses, toys with sharp edges, loose branches, wet leaves, rocks, and anything breakable. Keep the course away from grills, fire pits, glass doors, steps, pools, streets, and driveways with vehicle traffic.
For general play-area safety, the U.S. Consumer Product Safety Commission’s Public Playground Safety Handbook emphasizes active supervision and checking play areas for hazards such as sharp points, protrusions, and tripping risks. A backyard obstacle course is not the same as a public playground, but those principles still apply: supervise closely, use age-appropriate challenges, and inspect the area before play begins.
Simple spacing rules that help
- Leave at least 3 feet of open space between slow stations, such as tossing or stepping stones.
- Leave 6 feet of stopping space after fast stations, such as sprints, zigzags, or finish-line runs.
- Keep lanes wide enough for a child to move without brushing fences, furniture, or other players.
- Use low obstacles only. For this age group, avoid climbing onto chairs, tables, ladders, railings, or stacked boxes.
- Do not blindfold children or tie their legs together for outdoor running games.
Step-by-Step: Build the Backyard Obstacle Course
1. Choose a course shape
Pick a layout before you place the items. A loop is easiest for repeat play because children finish near the starting point. A straight-line course is better for narrow yards. A “U” shape works well when you want to watch every station from one spot.
If you are using a small yard, place the slow stations in the tightest area and save the fastest station for the longest open stretch. For example, put the toss station near the patio and the sprint finish across the grass.
2. Mark the start, arrows, and finish
Use chalk on pavement or rope on grass to mark the starting line. If children are young or the course bends around the yard, add arrows after each station. You can also use cardboard signs with simple drawings: a foot for “step,” a ball for “toss,” and a wavy line for “crawl.”
Make the finish obvious. A rope line, two buckets, or a chalk rectangle all work. Kids tend to speed up at the end, so keep the finish away from fences, walls, tables, and play structures.
3. Station 1: Bucket weave
Place 5 buckets, plastic containers, or upside-down bowls in a zigzag line. For ages 5–6, space them about 4 feet apart so the turns are gentle. For ages 7–10, space them about 3 feet apart and ask players to keep both hands on their hips or carry a soft ball while weaving.
This station helps set the rhythm of the course. It is active but not too fast, which makes it a good first obstacle.
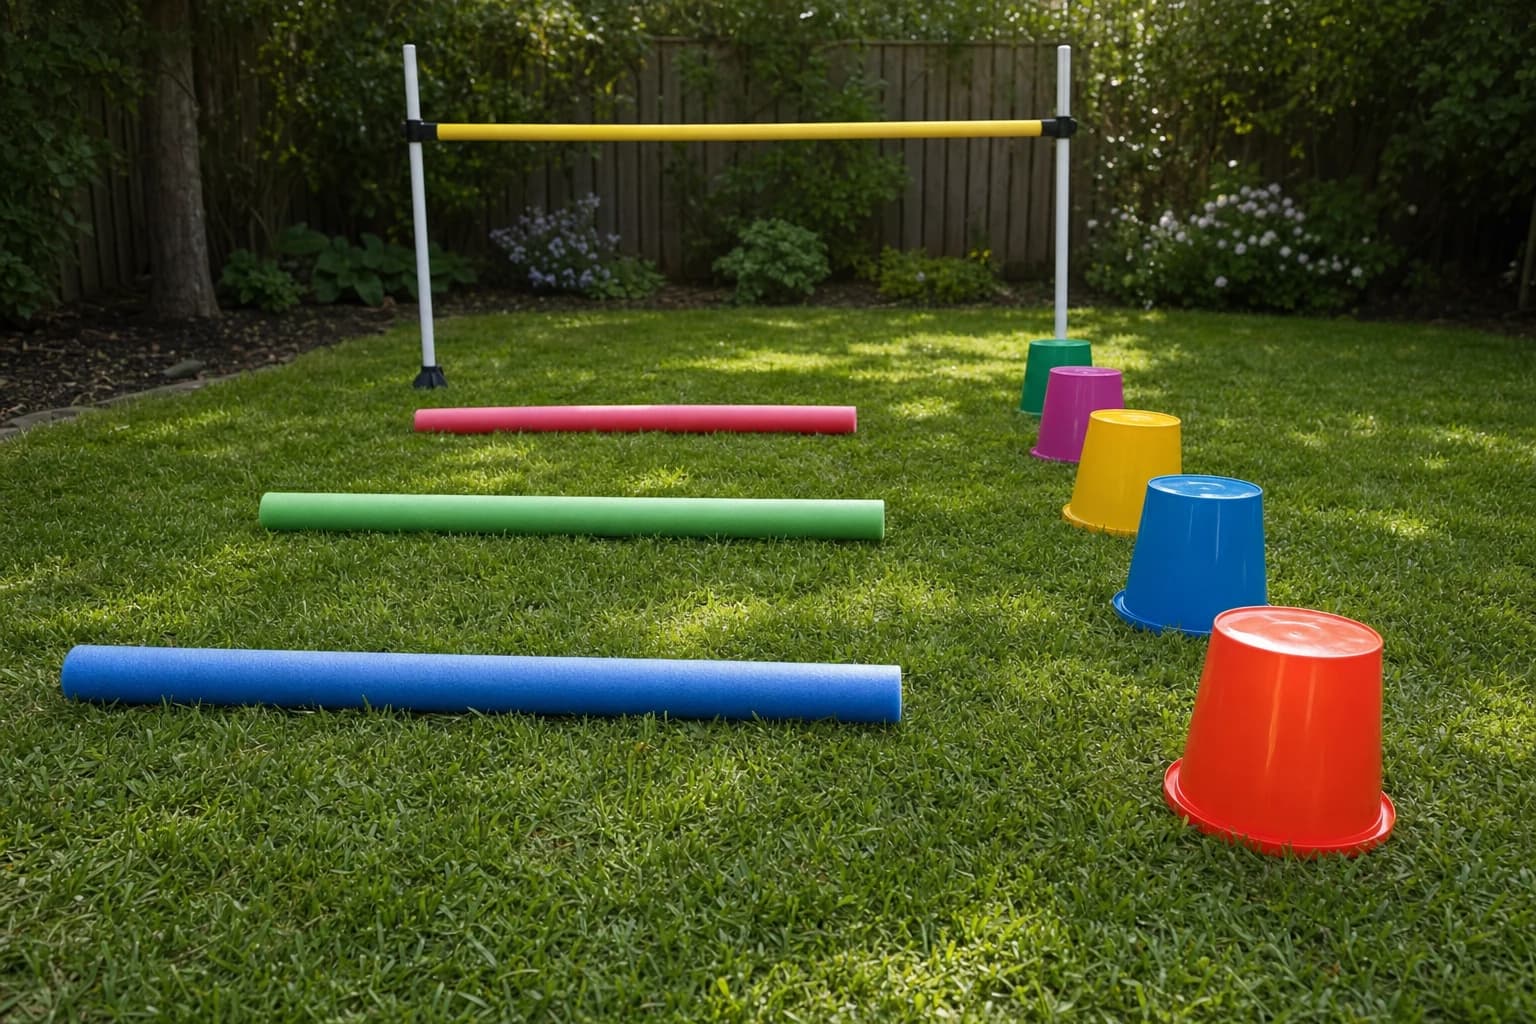
4. Station 2: Pool noodle hurdle or limbo
For a low hurdle, lay a pool noodle flat on the grass and have kids step or hop over it. For a limbo station, rest the noodle across two chairs, two buckets, or two adults holding the ends. Keep it at a comfortable height and adjust it for each child.
For younger kids, say “step over without touching.” For older kids, add “jump with two feet” or “go under without hands touching the ground.” Avoid making the bar too low, because awkward twisting is where this station stops being fun.
5. Station 3: Rope river jump
Lay two ropes, jump ropes, or long towels parallel to each other to make a pretend river. Children jump from one side to the other without landing in the middle. Start with a narrow river for younger kids: about 18 inches wide. For older kids, widen it to 24–30 inches if they can jump safely.
If jumping is not a good fit for a child, turn it into a step-over station. The goal is not to make the course extreme; it is to create a challenge that every child can finish with confidence.
6. Station 4: Cardboard stepping stones
Cut or tear cardboard into 6–8 large pieces. Place them like stepping stones across the yard. Keep the pieces large enough for a child’s whole foot. If the surface is slippery, use this station on grass, not smooth pavement.
For ages 5–6, place the stones close enough that children can step normally. For ages 8–10, spread them farther apart or add a rule: “Only one foot per stone.” If cardboard starts curling or sliding, replace it with towels, foam mats, or chalk circles on pavement.
7. Station 5: Sock toss target
Set a laundry basket, bucket, or storage bin on the ground. Give each child 3 rolled socks or soft balls. Mark a toss line with chalk or rope. Ages 5–6 can stand about 4 feet away. Ages 7–8 can stand about 6 feet away. Ages 9–10 can stand about 8 feet away or must make 2 out of 3 before moving on.
This station naturally slows the course down, which is helpful if children are getting too excited. It also gives kids who are not the fastest runners a place to succeed.
8. Station 6: Chalk balance path
Draw a long chalk line, curvy road, or series of footprints. Children walk heel-to-toe along the path. If you are setting up on grass, use a rope instead of chalk and tell children to walk beside it, not on top of it, if the rope rolls underfoot.
For older kids, add a balance challenge: carry a beanbag, small stuffed animal, or rolled sock on the back of one hand. If it falls, they stop, pick it up, and continue.
9. Station 7: Cardboard tunnel or animal crawl
If you have a large cardboard box, open both ends and use it as a crawl-through tunnel on level grass. If you do not have a box, make this an animal movement station: bear crawl for 10 feet, crab walk for 10 feet, or frog jumps to the next marker.
Check the cardboard for staples, packing tape edges, or wet spots before using it. Keep the tunnel short so children do not feel stuck inside.
10. Station 8: Finish-line carry
End with a short carry challenge. Children pick up a soft ball, sponge, or stuffed animal from a bucket, carry it to the finish, and drop it into a second bucket. This gives the finish a clear action instead of just a sprint.
If kids want to race the clock, time the full course from the start line to the moment the object lands in the finish bucket. For group play, let each child try to improve their own time rather than comparing everyone.
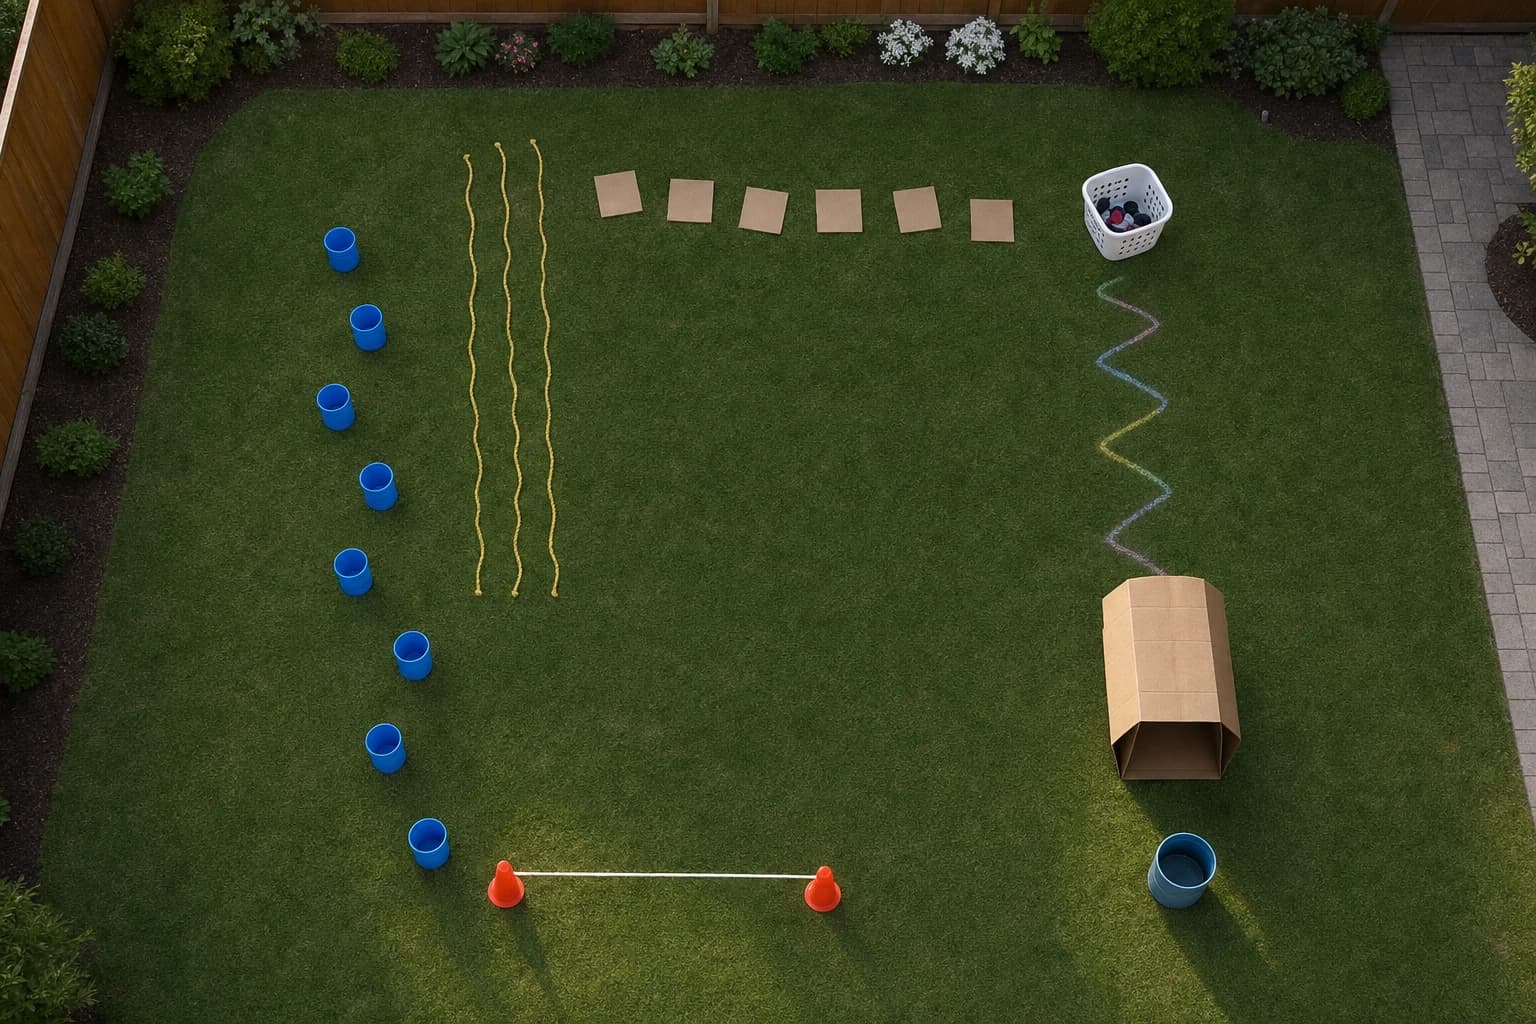
Printable-Style Course Flow You Can Copy
Use this simple course plan if you want to set up quickly without redesigning everything from scratch.
Start: Chalk line or rope line
1. Weave through 5 buckets
2. Step over or limbo under 1 pool noodle
3. Jump over the rope river
4. Cross 6 cardboard stepping stones
5. Toss 3 sock balls into a basket
6. Walk the chalk balance path
7. Crawl through a box or do animal walks for 10 feet
8. Carry a soft object to the finish bucket
For a birthday party or larger group, set up two matching lanes and run the course as a relay. If you need more ideas for group-friendly outdoor play, see Outdoor Games for a 10-Person Kids Birthday Party in a Small Backyard and Outdoor Birthday Party Games for Kids Ages 8–12 With Low-Cost Supplies.
Age-Based Difficulty Adjustments
The same household items obstacle course can work for a kindergartener and a fourth grader if you change the rules. Keep the physical setup simple, then adjust distance, speed, balance, and accuracy.
| Age | Best challenge level | Adjustments that work well |
|---|---|---|
| 5–6 | Simple movements and clear directions | Use wide spacing, short paths, step-over obstacles, and no timer for the first round |
| 7–8 | Moderate coordination challenges | Add gentle timing, longer stepping-stone gaps, a 6-foot toss line, and one repeat lap |
| 9–10 | Strategy, accuracy, and endurance | Add a personal best timer, 2-out-of-3 toss rule, carry challenge, or two-lap course |
| Mixed ages | Same course with different rules | Let younger kids use closer toss lines and wider jumps while older kids use harder versions |
For mixed-age play, avoid making one child’s version look like the “easy” course. Instead, call them “Level 1,” “Level 2,” and “Level 3.” Children can choose a level or move up after they complete a round. For more help with mixed-age outdoor play, read Common Mistakes to Avoid When Running Outdoor Games for Mixed-Age Groups.
Variations to Keep the Course Fresh
- Color course: Assign each station a color. Kids must shout the color before completing the task.
- Animal course: Add animal movements between stations, such as bunny hops, penguin walks, or bear crawls.
- Team relay: One child completes stations 1–4, then tags a teammate for stations 5–8.
- Scavenger finish: Add one hidden object at the end of the course. If your kids like that format, try a separate backyard scavenger hunt for kids.
- Quiet challenge: Players complete the course without talking, which makes it a fun focus game for smaller groups.
Common Mistakes to Avoid
Making the first version too hard
Start easier than you think you need to. Kids enjoy improving the course more than failing at the first station. After one practice lap, ask what should become harder: the toss distance, the river width, the number of buckets, or the timer.
Putting fast stations too close together
If a child sprints from a zigzag directly into a jump, they may not have time to slow down. Place a slower station, such as the sock toss or balance path, after a running section.
Using slippery items on pavement
Towels, cardboard, and plastic lids can slide on concrete or smooth patios. Use chalk circles on pavement instead of loose stepping stones, or move the station to grass.
Letting the timer become the whole game
A timer can motivate older kids, but it can also make younger children rush through movements they should do carefully. Use “beat your own score” rather than ranking children from fastest to slowest.
Parent Tips for Smoother Play
- Demonstrate one full lap first. Children understand the flow better when they see it.
- Use short station names. “Weave, jump, step, toss, balance, crawl, carry” is easier to remember than long instructions.
- Keep water nearby. Pause for drinks, especially in warm weather.
- Build in reset jobs. One child can collect sock balls while another straightens stepping stones.
- Have an indoor backup. If rain starts, move only the safe stations inside, such as sock toss and animal walks. For more low-cost indoor planning, see How to Plan a Winter Break Indoor Game Schedule for Kids.
FAQ
How big does a backyard need to be for a kids obstacle course?
You can build a simple course in a small backyard by using a U-shaped or loop layout. Prioritize slow stations such as tossing, balance paths, and stepping stones if space is tight. Save running stations for the longest open area.
What household items are safest for a DIY obstacle course for kids?
Soft, lightweight items are usually best: pool noodles, rolled socks, chalk, laundry baskets, cardboard, towels, and plastic buckets. Avoid glass, metal tools, unstable furniture, and anything children need to climb on.
How do I make the course fair for ages 5 and 10 playing together?
Use the same course but different rules. A 5-year-old might step over the rope river and toss from 4 feet, while a 10-year-old jumps a wider river and tosses from 8 feet. Keep the goal personal improvement rather than head-to-head ranking.
How many stations should a backyard obstacle course have?
Six to eight stations is a good number for ages 5–10. Fewer than six can feel too short, while more than eight may require too many instructions and too much resetting.
Can I use a timer?
Yes, especially for older kids, but start with an untimed practice lap. If you use a timer, encourage children to beat their own previous time instead of making the game only about who is fastest.
Conclusion
A backyard obstacle course for kids works best when it is simple, visible, and easy to adjust. Start with household items you already have, create 6–8 clear stations, leave enough space for safe movement, and change the rules by age instead of rebuilding the whole course.
With buckets for weaving, pool noodles for low obstacles, rope for a pretend river, cardboard for stepping stones, chalk for directions, and rolled socks for tossing, you can create an outdoor game that feels fresh every time you rearrange it.